
Have an enquiry? Call us today on 0333 050 2911
Have an enquiry? Call us today on 0333 050 2911

Wood-Fired Chicken Fillets + Seasonal Veg
February 13, 2026 3 min read
This is the meal that converts people from “pizza gadget” thinking to “outdoor oven” thinking. It’s simple, repeatable, and it proves why a wood-fired oven can become part of normal life: controlled heat, even cooking, and the ability to roast properly without babysitting flare-ups.
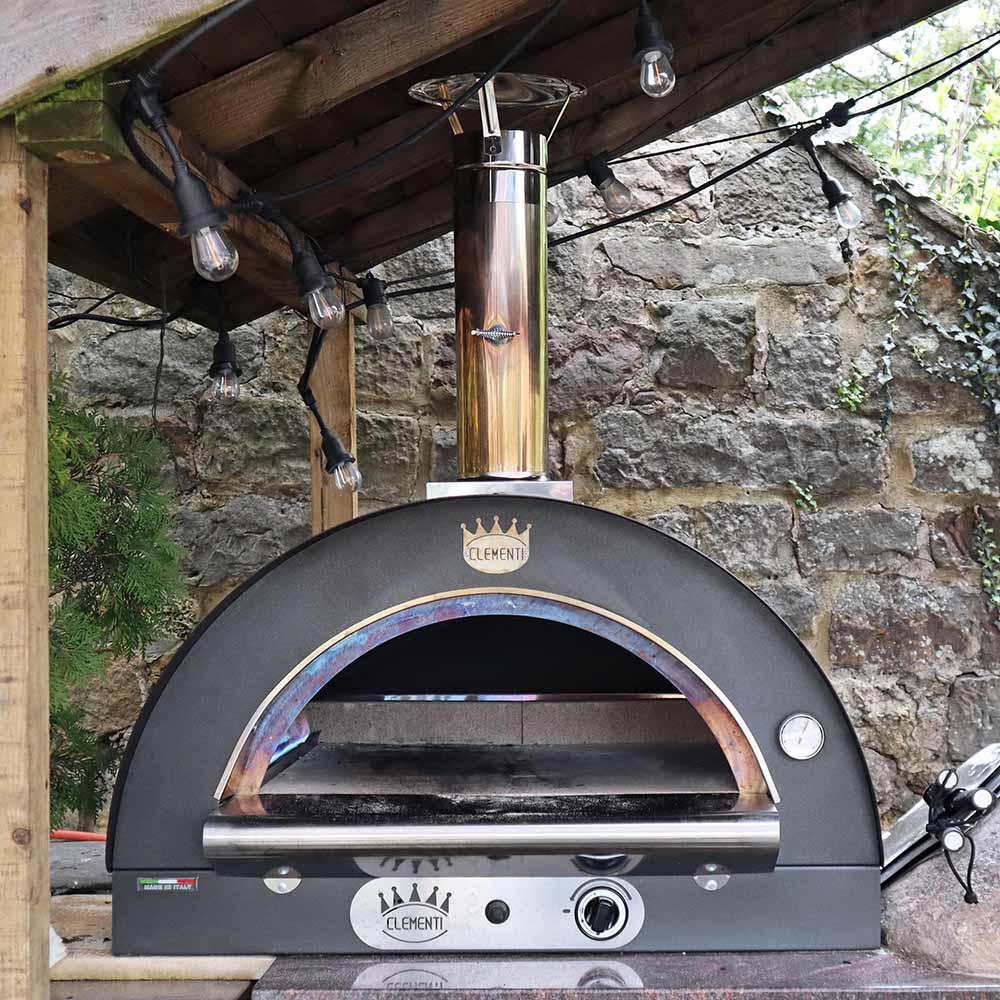
If your're looking for your first oven then why not start by taking a peek at our full collection of Igneus or Clementi ovens.
Wood-Fired Chicken Fillets with Seasonal Vegetables
What this recipe is designed to prove
- A wood-fired oven can cook a complete, balanced tray meal — not just pizza.
- Using zones and distance from the flame gives you control without complicated equipment.
- Once the oven is hot, you can cook with consistency and confidence.
Ingredients (serves 2–4)
- 4–6 chicken fillets (breasts or thighs — use what you prefer)
- Seasonal vegetables (choose 3–4): carrots, parsnips, onions, peppers, courgette, mushrooms, broccoli, asparagus, etc.
- 2–3 tbsp olive oil
- Salt and black pepper
- 2–3 cloves garlic (crushed or sliced)
- 1–2 tsp smoked paprika (optional)
- 1 lemon (optional, for finishing)
- Fresh herbs if you have them (thyme/rosemary/parsley)
Equipment
- Roasting tray or cast-iron pan
- Tongs
- Instant-read thermometer (strongly recommended for chicken safety)
Method
1) Build heat and create a cooking zone
Heat the oven and build a stable flame at the rear/side so you have a clear “hot zone” near the fire and a gentler cooking zone further away. You’re aiming for a consistent cooking environment rather than cooking directly in flames.
2) Prepare the tray
Cut harder vegetables (carrots/parsnips/onions) into bite-size pieces so they cook evenly. Toss vegetables with olive oil, salt, pepper, garlic, and (optionally) smoked paprika. Place them in a roasting tray or cast iron.
3) Season the chicken
Lightly oil the chicken fillets, season with salt and pepper, and add herbs if using. Place chicken on top of the vegetables (or alongside them if your tray is large enough).
4) Cook using distance, not flame
Place the tray in the oven where it receives strong heat but is not directly blasted by flames. Rotate the tray once during cooking if one side is browning faster than the other.
5) Check doneness properly
Chicken should be cooked safely and consistently. Use an instant-read thermometer: the thickest part of the fillet should reach 74°C. If you don’t have a thermometer, cut into the thickest piece: the centre should be opaque and the juices should run clear (but a thermometer is far more reliable).
6) Rest and finish
Rest the chicken for a few minutes. Finish with lemon juice if using, and a final pinch of salt. Serve straight from the tray for a simple, robust meal.
Notes and variations
- Want more colour? Add peppers or red onions later in the cook so they don’t over-soften.
- Want more richness? Add a knob of butter to the tray near the end and baste the chicken.
- Want it more “oven-like”? Add a small tray of water in the oven to soften the cooking environment for lean chicken breast.
Frequently Asked Questions
Can I cook this without a thermometer?
You can, but it’s not ideal. A thermometer removes doubt and reduces overcooking. For chicken safety and consistency, it’s one of the best low-cost tools you can own.
Do seasonal vegetables change the cook time?
Yes. Hard root veg take longer than softer vegetables. If you’re mixing, either cut roots smaller, or start them first and add softer veg later.
Is this better in a wood-fired oven than on a BBQ?
It’s different. A BBQ can grill chicken well, but this tray method benefits from a chamber environment that cooks vegetables evenly while keeping the chicken from being constantly exposed to flare-ups and direct flame.
DEBUG handle:
Forge strength beyond the flame: Explore mindset, movement, and the warrior ethos that fuels every meal. Explore A Warrior’s Way
Subscribe
Sign up to get the latest from the warrior's way blog, promotions and more